
WELCOME TO THE BRICK TRICK ONLINE STUDIO

Here you can view our designs, projects and building instructions.
Showing posts with label holiday town. Show all posts

Tuesday, February 26, 2013

WINTER VILLAGE

Above: The Brick Trick version of a WINTER VILLAGE.

WINTER VILLAGE

We set-up this WINTER VILLAGE scene on the dining room table for the holidays.  We just took it down last week, to make room for some new SPRING brick building projects.

Before we disassembled the structures, we snapped a few pictures.

The medium blue building is a kit from the brick manufacturer, the remainder of the items were designed and built by Brick Trick artists Philip and Mitch.

REMINDER: Enlarge the images by clicking on them.

Above: The right side of the display.

Above: The left side of the display.

Above: Ice skating on a frozen pond is at the center of the display.

Above: Close-up of ice skaters.

Above: Buildings from the Brick Trick WINTER VILLAGE.

Above: The building on the left is the woodshed, and the center building is the cottage that were part of a kit from the brick manufacturer.  The building on the right was designed to match these structures and serves as a candy store.

Above: The sand-green cottage.
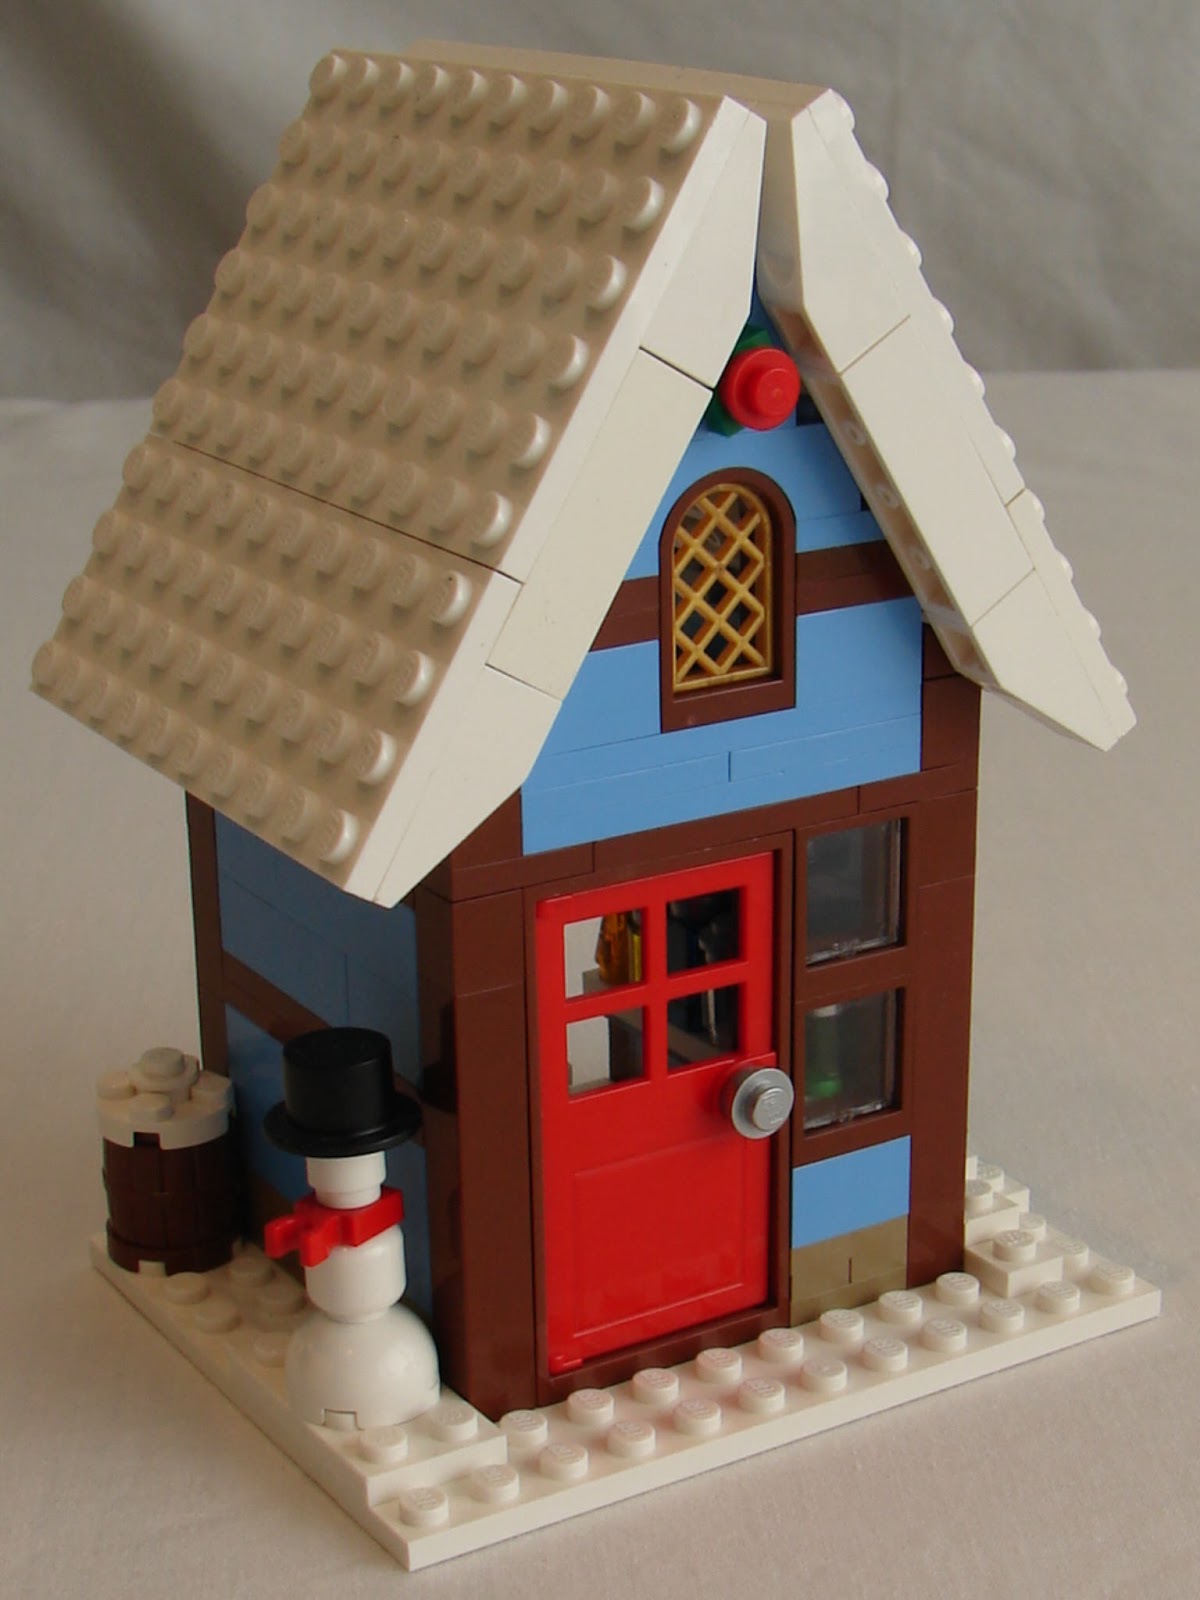
Above: The CANDY STORE.

Above: The light yellow bakery building.

Above: The interior of the bakery.  Many of the buildings were built "dollhouse" style with no back wall.

Above: The dark pink cottage.

Above: The dark purple cottage.

Above: The "Swiss Chalet".

Above: Another view of the entire WINTER VILLAGE.


Tuesday, November 22, 2011

HOLIDAY TRAIN and TOWN LAYOUT


Above: The HOLIDAY TRAIN and TOWN LAYOUT built by BrickTrick artists on the hearth of an unused fireplace.

HOLIDAY TRAIN and TOWN LAYOUT

Last year we wanted to have a train set-up in our personal residence for the holiday season. Of course we don't really have any space for a train layout installation anywhere in our house. Well, until we got a little more creative, that is. We are fortunate to have a nice granite fireplace, though since we don't need it for heat and burning wood is bad for the environment, the fireplace sits empty and unused all year long.

After some careful measuring we determined that a full circle train layout would just fit on the hearth and inside the fireplace itself. We liked the idea of the train "disappearing" into a tunnel and then coming back out again. It took some careful figuring to get the tracks to stay in place, but once the track was installed we were off creating a variety of buildings and other items, which wound up including custom-built train cars. More pictures documenting this project follow in this posting.

What are we building for 2011? A train layout with two tracks, one of which is a "subway".

Enjoy!

REMINDER: Enlarge the images by clicking on them.


Above: This shot gives an overview of the project with the train tracks installed and several base plates arranged to accommodate structures.


Above: This image shows the entire fireplace which is in the corner at the end of a great room space.


Above: An area within the tracks is to serve as a public plaza for the HOLIDAY TOWN and has an ice skating area. The technique shown here where small plates and caps surround the train tracks is called "ballasting" and is intended to have the look of a gravel bed supporting the tracks.


Above: A large facade for one of the HOLIDAY TOWN "high rise" buildings was constructed on a table top and moved to the layout for installation.


Above: More buildings have been installed on the right side of the layout and a green train is being test-run on the tracks to be sure the train can clear the tunnel entrance and exit.


Above: Large "high rise" buildings have been installed to begin to enclose the fireplace opening.


Above: The powder blue building houses a costume shop on level one and two. The top floor is the "Sky Lounge" and patrons await the tree lighting ceremony.


Above: The holiday tree is installed, though it doesn't have its decorations and "lights" yet.


Above: Nearly all of the buildings have been put in place and some custom train cars in a holiday color scheme of red, green and white are being test-run on the train tracks.


Above: "Party Cars" are part of the HOLIDAY TRAIN and passengers can eat and drink while enjoying the view of the skaters on the ice, as well as the many holiday decorations throughout the "plaza" area while riding in the open-air train cars. One open-top train car has a tree and gifts which are going to be donated.


Above: An overview of the completed HOLIDAY TRAIN and TOWN LAYOUT project. The blue building on the left side of the layout is an apartment complex, the gray building with the clock tower behind the ice rink is the TOWN HALL.


Above: Cheerleaders wave their pom-poms from the side of the ice rink while the skaters show off their moves. Minifigure artists have just finished the "ice sculpture" ANGEL located in front of the holiday tree. Under the tree is SANTA in a big red chair.


Above: Some of the smaller buildings at the right front of the layout include colorful homes.


Above: The completed HOLIDAY TRAIN and TOWN LAYOUT with the RED PARTY TRAIN running around the track.


Above: Another vantage point shows the HOLIDAY TRAIN and TOWN LAYOUT completely finished with the RED PARTY TRAIN in motion.

Saturday, December 18, 2010

CHRISTMAS TREE CUSTOM KIT • BUILDING INSTRUCTIONS


Above: The BrickTrickDude 2010 Christmas Tree Custom Building Kit shown assembled with a female minifigure.

CHRISTMAS TREE CUSTOM KIT • BUILDING INSTRUCTIONS

This posting features images and directions identical to the printed instructions which come with this custom building kit from BrickTrickDude on Ebay.

REMINDER: Enlarge the images by clicking on them, return to this page by clicking your browser "back" button.

Below: Parts contained in the custom kit.

PARTS LIST
1 green 6x8 plate
5 green 2x2 plates
1 green 2x2 brick
4 brown 1x1 bricks
1 red 2x2 smooth tile
1 red 2x2 brick
1 neon green transparent jewel
1 green transparent 1x1 cone
5 dark blue trans. 1x1 caps
5 red trans. 1x1 caps
4 medium blue transparent 1x1 caps
4 neon orange transparent 1x1 caps
28 green 1x2 45-degree slopes

Minifigure GAL PAL is assembled and includes:

1 blonde (dark tan) wig
1 female head w/red lipstick
1 medium blue torso with pink blouse and necklace
1 white hips/legs


Step 1: Begin by placing 4 brown 1x1 bricks on green 6x8 plate as shown to serve as “tree trunk”. Add 1 dark blue 1x1 transparent cap to serve as a “dropped ornament”. Place red 2x2 smooth tile on top of red 2x2 brick to build “ornament box”, and add to green 6x8 plate as shown. Add green 2x2 brick to the top of 4 green 2x2 plates as shown to form tree base. Place the neon transparent jewel in green transparent cone. Add transparent caps to the bottom slope end of 16 green 1x2 45-degree slopes as shown, (four of each color).


Step 2: Begin the tree assembly by adding 8 green 1x2 45-degree slopes to the tree base you built in Step 1. You’ll need 4 blank slopes and 4 slopes to which you added the transparent caps. Be sure to use one of each color, (red, medium blue, neon orange and dark blue), to distribute the colors around the tree. Slopes with caps will overhang tree base.


Step 3: Add the next row of slopes as shown, using four with caps and four without.


Step 4: Add four remaining green 1x2 45-degree slopes without caps for row three.


Step 5: Use four slopes with caps for row four, with caps overhanging previous row.


Step 6: Use four remaining slopes with caps, offsetting to overhang previous row.


Step 7: Add the remaining green 2x2 plate to the top of the tree assembly.


Step 8: Place jewel/cone on top of tree assembly as shown to serve as tree-topper ornament.


Step 9: Carefully place tree assembly on brown 1x1 bricks, add red cap to minifigure hand.


Notes: Once you complete the CHRISTMAS TREE add the minifigure and you are ready for a festive season of sharing in your brick city or town! Your CHRISTMAS TREE will work well for play as well as display.

Monday, September 13, 2010

RED & GREEN HOLIDAY GREENHOUSE KIT


Above: The RED & GREEN HOLIDAY GREENHOUSE and FLOWER VENDOR custom building kit from BRICK TRICK DUDE available only on Ebay.

RED & GREEN HOLIDAY GREENHOUSE and FLOWER VENDOR

This is a new custom building kit from BrickTrickDude for the 2010 holiday season. There are only a few, and you can have a male or female minifigure while supplies last. Currently instructions for this kit are only available in print version when purchasing the kit.

The custom building kit includes everything you see in the images to build the greenhouse, which has flowers inside; as well as the rest of the layout which features a potting bench, water pump, cash register for sales, a picket fence, wavy flag, colorful tiled walkway and lots more flowers!

Find all the BrickTrickDude offerings on Ebay, CLICK HERE.

Below: The RED & GREEN HOLIDAY GREENHOUSE with a blonde female minifigure.

Friday, January 29, 2010

CUTE LITTLE COTTAGES


Above: A row of cottages designed and built by Brick Trick artist PHILIP BUCHAN. Each tiny house has a different holiday tree inside.

Below: The row of cottages shown with the rooftops removed, so the interiors can be more easily viewed.


CUTE LITTLE COTTAGES

Greetings BRICK TRICK BLOG Friends!

This posting features images of a series of Holiday Cottages built by PHILIP BUCHAN for the 2009 Brick Trick display. Each tiny building sits on a 16x16 peg base plate and no two homes are exactly alike.

Below: The LIME COTTAGE has a bright yellow roof. Through the large "living room" window you can see the white holiday tree decorated with black ornaments.


Above: A closer view of the tree in the LIME COTTAGE.

Below: Another view of the LIME COTTAGE. On the right side is a dark red cottage built entirely of plates. On the left is an 8x16 peg base plate with a tree and flowers used to create landscaping as well as space between the buildings.


Above: The interior of the LIME COTTAGE is visible with the yellow roof lifted off. Each building was designed to have a removable roof.

Below: A building made of dark green bricks with a red roof has a tree inside constructed with two shades of purple plates and decorated with white 1x1 caps.


Above: A closer view of the purple holiday tree inside the DARK GREEN COTTAGE.

Below: The PINK COTTAGE has a red tree with lime decorations.