Above: The PINK & AQUA Airplane kit shown assembled with female minifigure Amelia.
PINK & AQUA AIRPLANE CUSTOM KIT - BUILDING INSTRUCTIONS
This posting contains images and directions identical to the printed directions that are included when you purchase this custom building kit from BRICK TRICK DUDE on Ebay.
View the kit here: http://www.ebay.com/itm/PINK-AQUA-AIRPLANE-CUSTOM-BUILDING-KIT-of-new-LEGO-with-Minifigure-Girl-/281338744576

Above: Parts included in the custom building kit.
PARTS LIST
1 white 1x2 tile w/tailfin
1 black/white steering wheel
1 clear transparent 2x2
45-degree slope
1 black propeller
1 white 1x2 brick w/stud
2 aqua 2x8 plates
2 medium lavender 1x4 plates
2 bright pink 2x2 bricks
2 white 1x2 grills
9 bright pink 1x2 smooth tiles
2 white rims
2 black rubber tires
1 light gray 2x2 axle plate
1 black/white steering wheel
1 clear transparent 2x2
45-degree slope
1 black propeller
1 white 1x2 brick w/stud
2 aqua 2x8 plates
2 medium lavender 1x4 plates
2 bright pink 2x2 bricks
2 white 1x2 grills
9 bright pink 1x2 smooth tiles
2 white rims
2 black rubber tires
1 light gray 2x2 axle plate
Minifigure Pilot “Amelia” is assembled and includes:
1 brown ponytail wig
1 female head with pink lipstick
1 rainbow stars pattern torso
1 orange hips/legs
1 brown ponytail wig
1 female head with pink lipstick
1 rainbow stars pattern torso
1 orange hips/legs

Step 1:
Attach propeller to white 1x2 brick with stud.
Add 1 pink 1x2 tile to clear 2x2 slope.
Put tires on axle plate. Place
white tailfin on lavender 1x4 plate and 1 pink 1x2 tile on second lavender 1x4
plate.

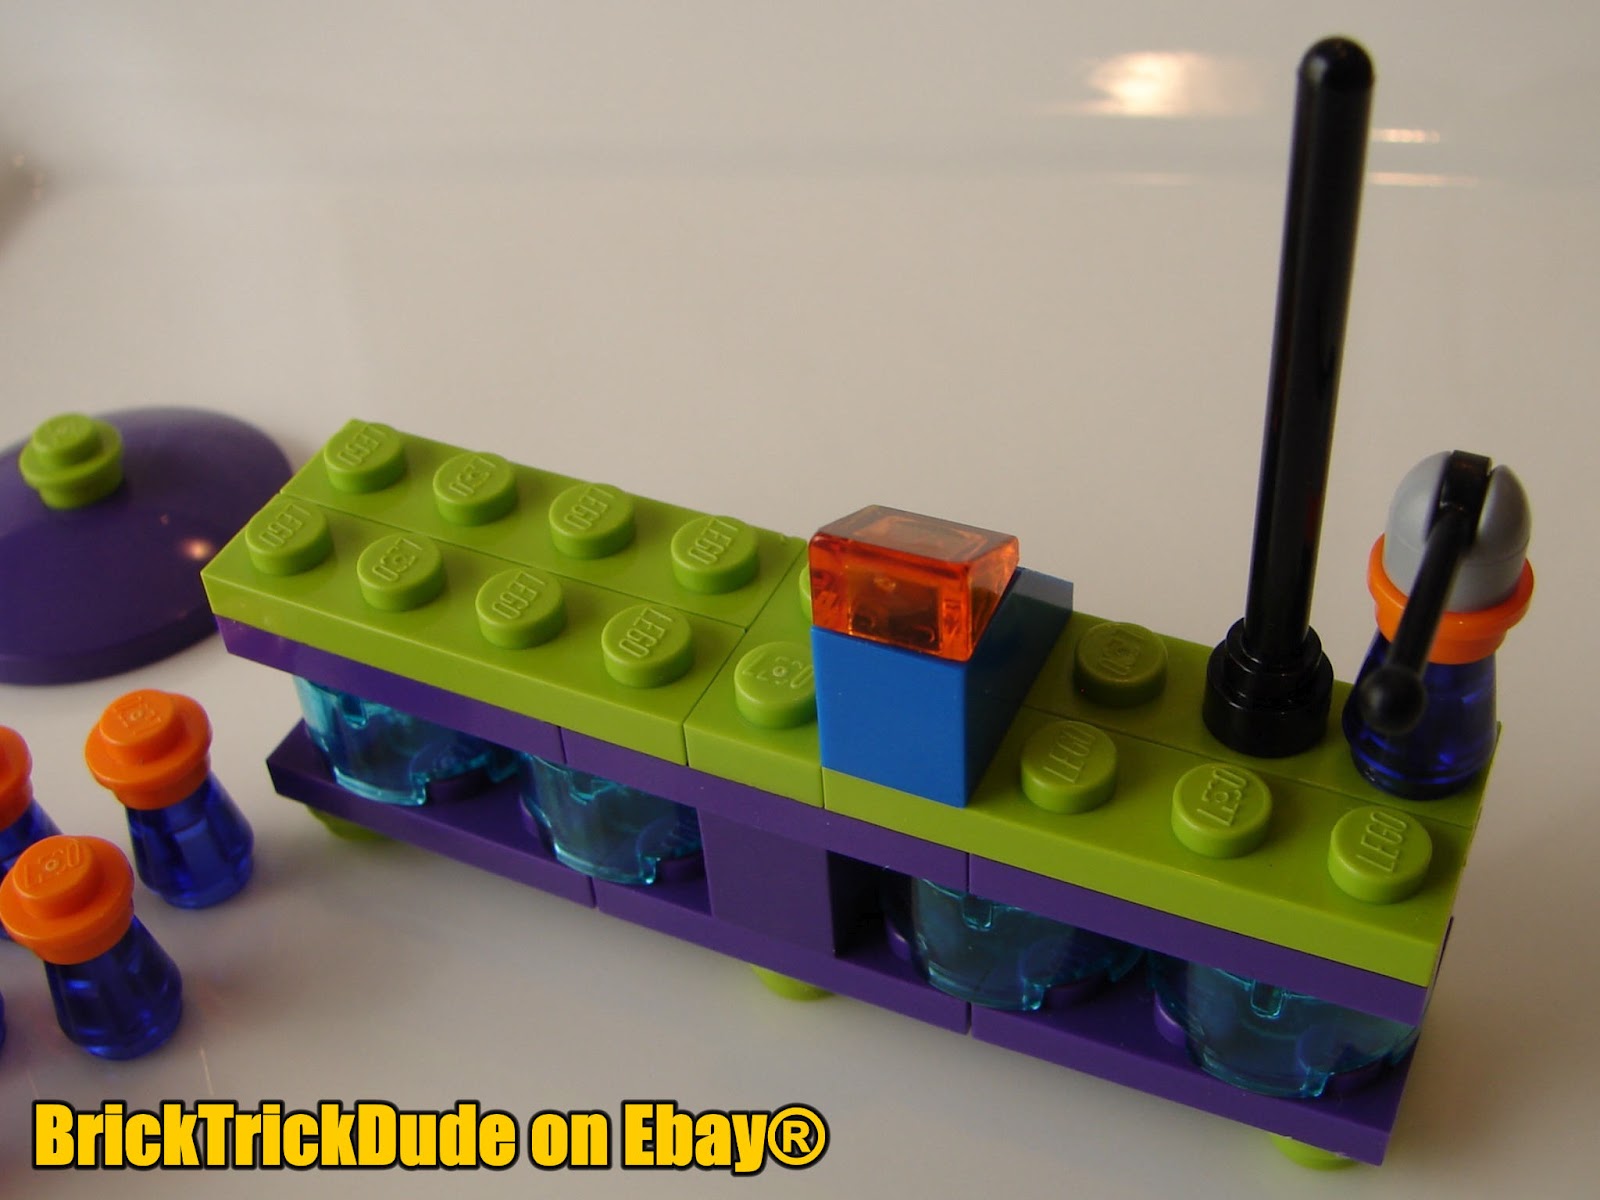
Step 2:
Add pink 2x2 bricks to one aqua 2x8 plate.

Step 3:
Attach the propeller assembly to front of aqua 2x8 plate. Place 1 pink 1x2 tile on top of white
propeller brick. Add steering wheel.
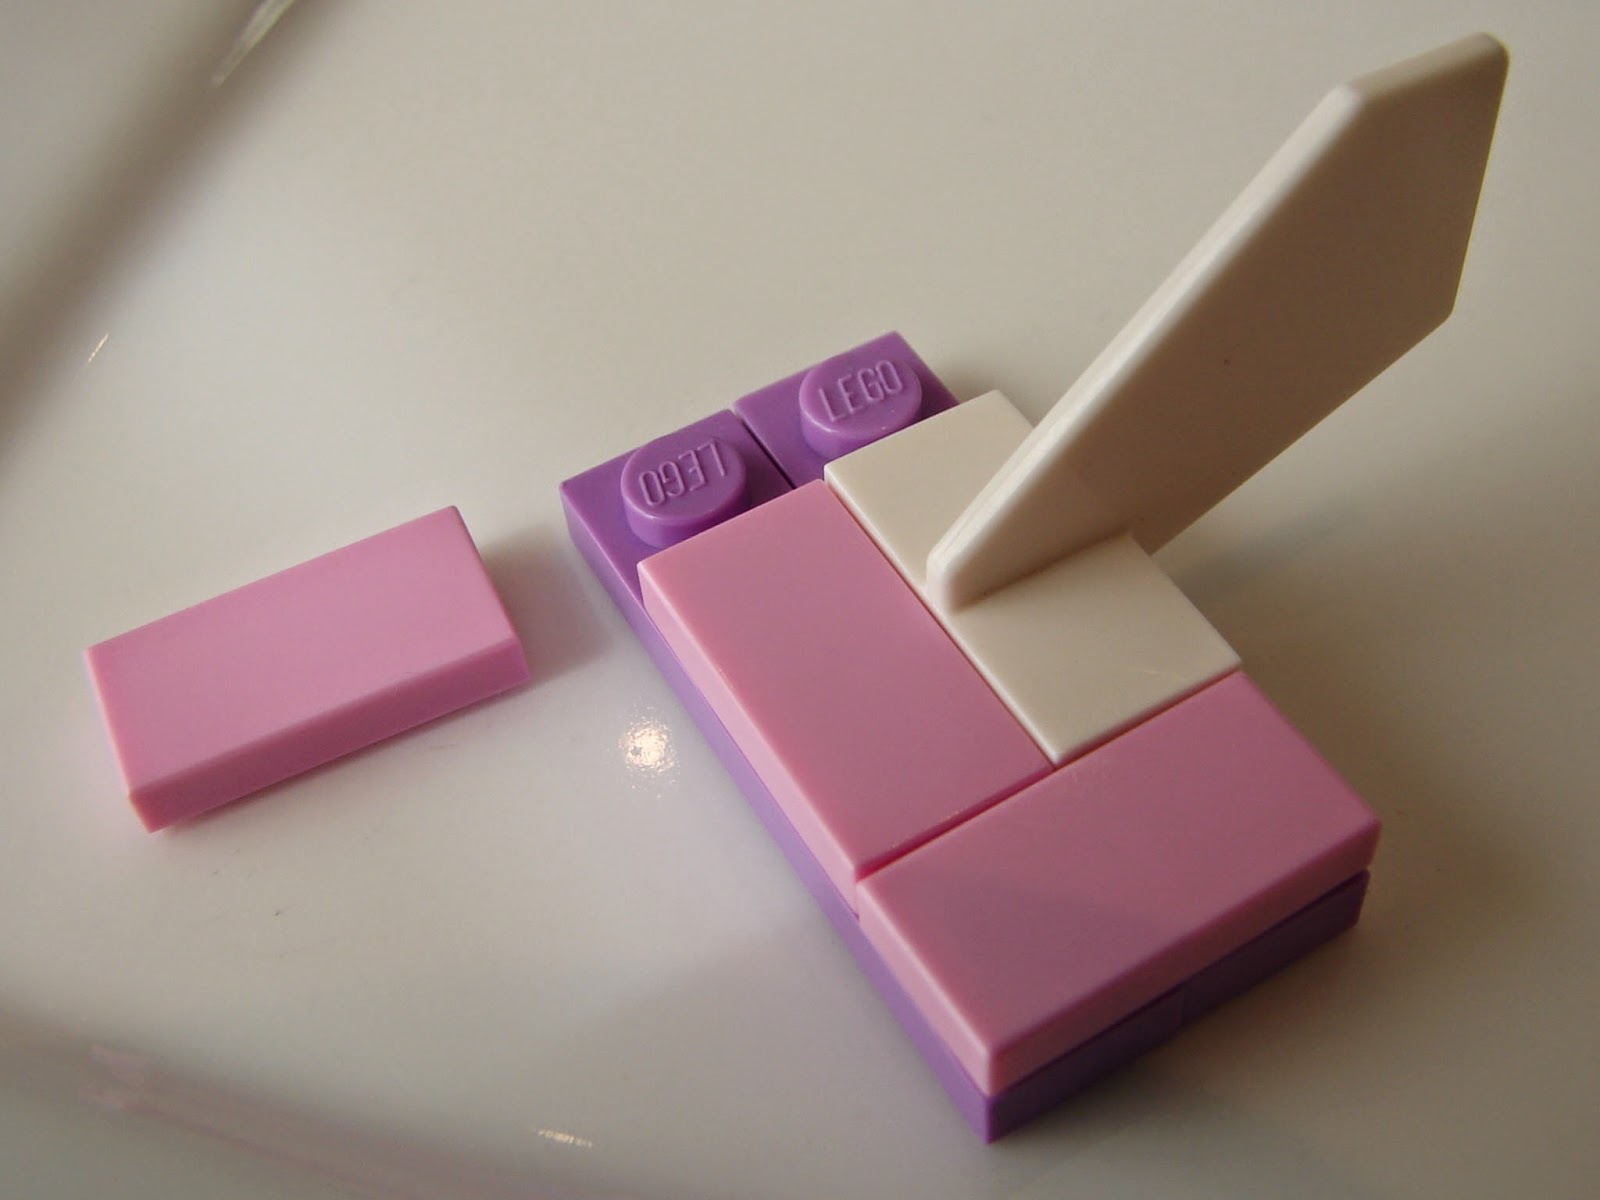
Step 4:
Complete the tailfin assembly by joining the lavender 1x4 plates with 2 pink
1x2 tiles.

Step 5:
Add tail assembly to pink 2x2 brick as shown.

Step 6:
Add windsheild to second aqua 2x8 plate.

Step 7:
Add pink 1x2 tiles and white 1x2 grills to aqua plate to complete wing
assembly.

Step 8:
Add wing assembly to pink 2x2 brick.

Step 9:
Add wheel assembly to underside of aqua plate.

Notes:
Now you’re ready to fly.
©2014 Brick Trick Dude. ALL RIGHTS RESERVED.
Images and directions are the copyrighted property of Brick Trick Dude and may not be re-produced from this blog posting without express written permission from the Brick Trick blog operators.