WELCOME TO THE BRICK TRICK ONLINE STUDIO

Here you can view our designs, projects and building instructions.

Wednesday, September 18, 2013

2013 Row House Series

Above: Classic mid-century row houses in San Francisco built from plastic bricks.

2013 SAN FRANCISCO ROW HOUSE SERIES

This series of 35 row houses was built by BrickTrick artist Philip Buchan.  The series mimics homes built from the late nineteen forties through the early nineteen fifties throughout several neighborhoods in San Francisco.  The structures in this collection were patterned after homes in the Miraloma Park neighborhood on the side of Mount Davidson.

Above: Many row houses features stairways to a second floor entry.

Above: Detail close-up.

Above: Some row houses are painted in bright and bold color schemes.

Above: Some row houses have first floor entries.

Above: Some row houses have a more sleek and "modern" appearance to the architecture.

Above: Many row houses feature archways over doorways and garages.

Above: Some row houses with first floor entries have a small covered porch.

Above: It's not uncommon to see a first floor entry next door to a second floor entry.

Above: Beige is banished in this bold color scheme.

Above: More variations of row house architecture.

Above: Some row houses employ more traditional architectural elements and appear more European or Mediterranean in style.


Tuesday, February 26, 2013

WINTER VILLAGE

Above: The Brick Trick version of a WINTER VILLAGE.

WINTER VILLAGE

We set-up this WINTER VILLAGE scene on the dining room table for the holidays.  We just took it down last week, to make room for some new SPRING brick building projects.

Before we disassembled the structures, we snapped a few pictures.

The medium blue building is a kit from the brick manufacturer, the remainder of the items were designed and built by Brick Trick artists Philip and Mitch.

REMINDER: Enlarge the images by clicking on them.

Above: The right side of the display.

Above: The left side of the display.

Above: Ice skating on a frozen pond is at the center of the display.

Above: Close-up of ice skaters.

Above: Buildings from the Brick Trick WINTER VILLAGE.

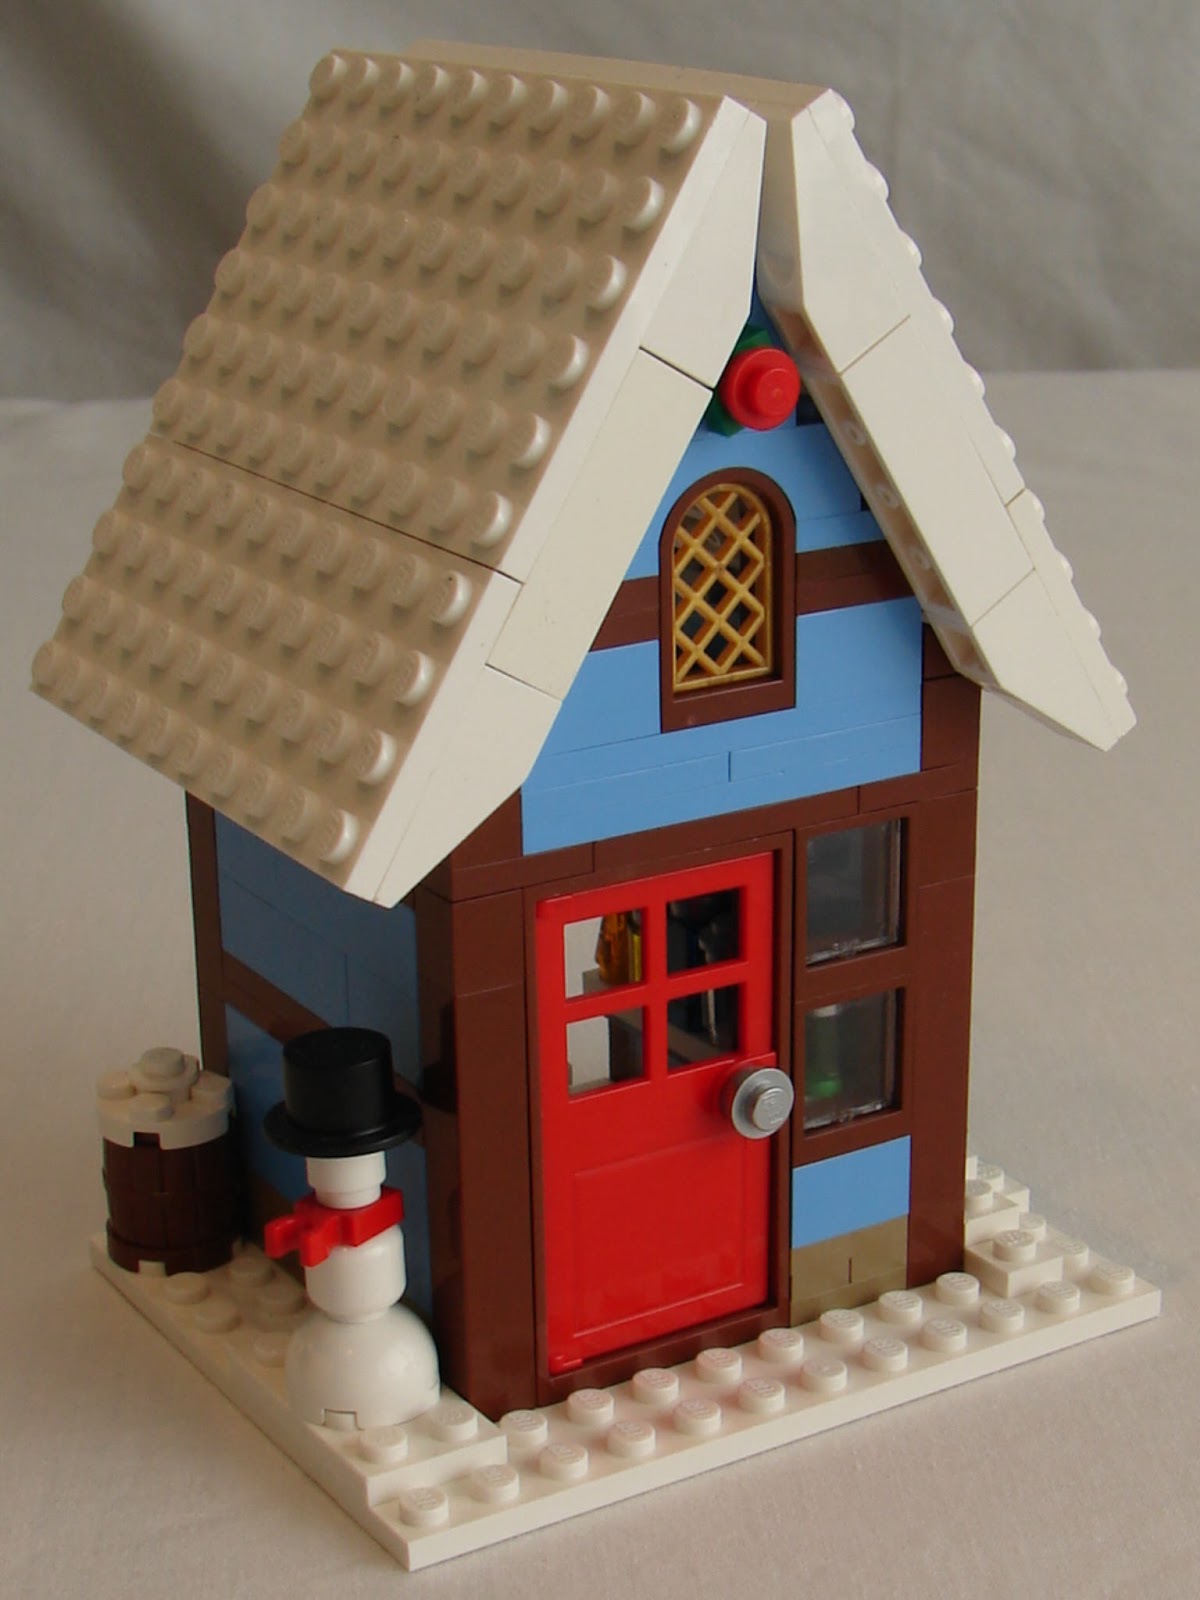
Above: The building on the left is the woodshed, and the center building is the cottage that were part of a kit from the brick manufacturer.  The building on the right was designed to match these structures and serves as a candy store.

Above: The sand-green cottage.

Above: The CANDY STORE.

Above: The light yellow bakery building.

Above: The interior of the bakery.  Many of the buildings were built "dollhouse" style with no back wall.

Above: The dark pink cottage.

Above: The dark purple cottage.

Above: The "Swiss Chalet".

Above: Another view of the entire WINTER VILLAGE.


Tuesday, August 7, 2012

Lime Greenhouse Custom Building Kit Instructions

Above: LIME GREENHOUSE shown assembled with female minifigure.

LIME GREENHOUSE Custom Building Kit Instructions.

This posting provides images and directions to assemble the LIME GREENHOUSE custom building kit sold by BrickTrickDude exclusively on Ebay.

REMINDER: Enlarge the images by clicking on them.

Below: Parts included in the kit.
PARTS LIST
1 dark tan 6x8 plate
16 lime 1x1 bricks
12 lime 1x2 45-degree slopes
12 clear trans. 2x2 45-degree slopes
42 clear trans. 1x2 bricks
7 lime 1x2 smooth tiles
4 green stalks w/3 stems each
3 sprues of 4 red flowers
2 green trans. 1x1 cones
1 yellow 2x2 flower
1 orange 1x1 cap

Step 1: Begin by assembling all the components used to create the greenhouse.  Build 4 stacks of 3 clear transparent 2x2 slopes for the roof.  Create 4 stacks of 4 lime 1x1 bricks to serve as the columns at each corner of the greenhouse.  Remove red flowers from center sprues and place on green stems, stack stalks in 2 groups of two for bouquets.  Stack both green transparent 1x1 cones, add yellow 2x2 flower and top with the orange 1x1 cap to create the sunflower.  Build 9 stacks of 4 clear transparent 1x2 bricks.  Assemble the 2 “gable roof ends” by stacking 3 clear transparent 1x2 bricks as shown, and then add the lime 45-degree slopes.  Now you have all the components assembled to begin constructing the greenhouse.

Step 2: Begin by adding 3 stacks of clear 1x2 bricks and 2 stacks of lime 1x1 bricks to the dark tan 6x8 plate as shown to form the back wall of the greenhouse.  Then place one lime 1x2 tile on the dark tan plate as shown.

Step 3: Add the sunflower situated between four pegs at back of green plate as shown.

Step 4: Add the red flower bouquets to pegs on the green 6x8 plate as shown.

Step 5: Add 2 stacks of 1x2 clear bricks to each side of the dark tan 6x8 plate.

Step 6: Add remaining lime 1x1 columns and stacks of clear bricks to build front wall.

Step 7: Add one of the gable roof ends to the back wall of the greenhouse. 

Step 8: Carefully add the 4 stacks of clear slopes to build the greenhouse roof.

Step 9: Add the remaining gable roof end to the front wall of the greenhouse.

Step 10: Carefully add the lime 1x2 tiles to the roof; this will require a light touch.

Notes: Gripping the sides of the greenhouse when adding tiles on roof line eases application.

Above: LIME GREENHOUSE shown assembled with male minifigure.

Sunday, May 13, 2012

PURPLE JUICE BAR KIT • BUILDING INSTRUCTIONS

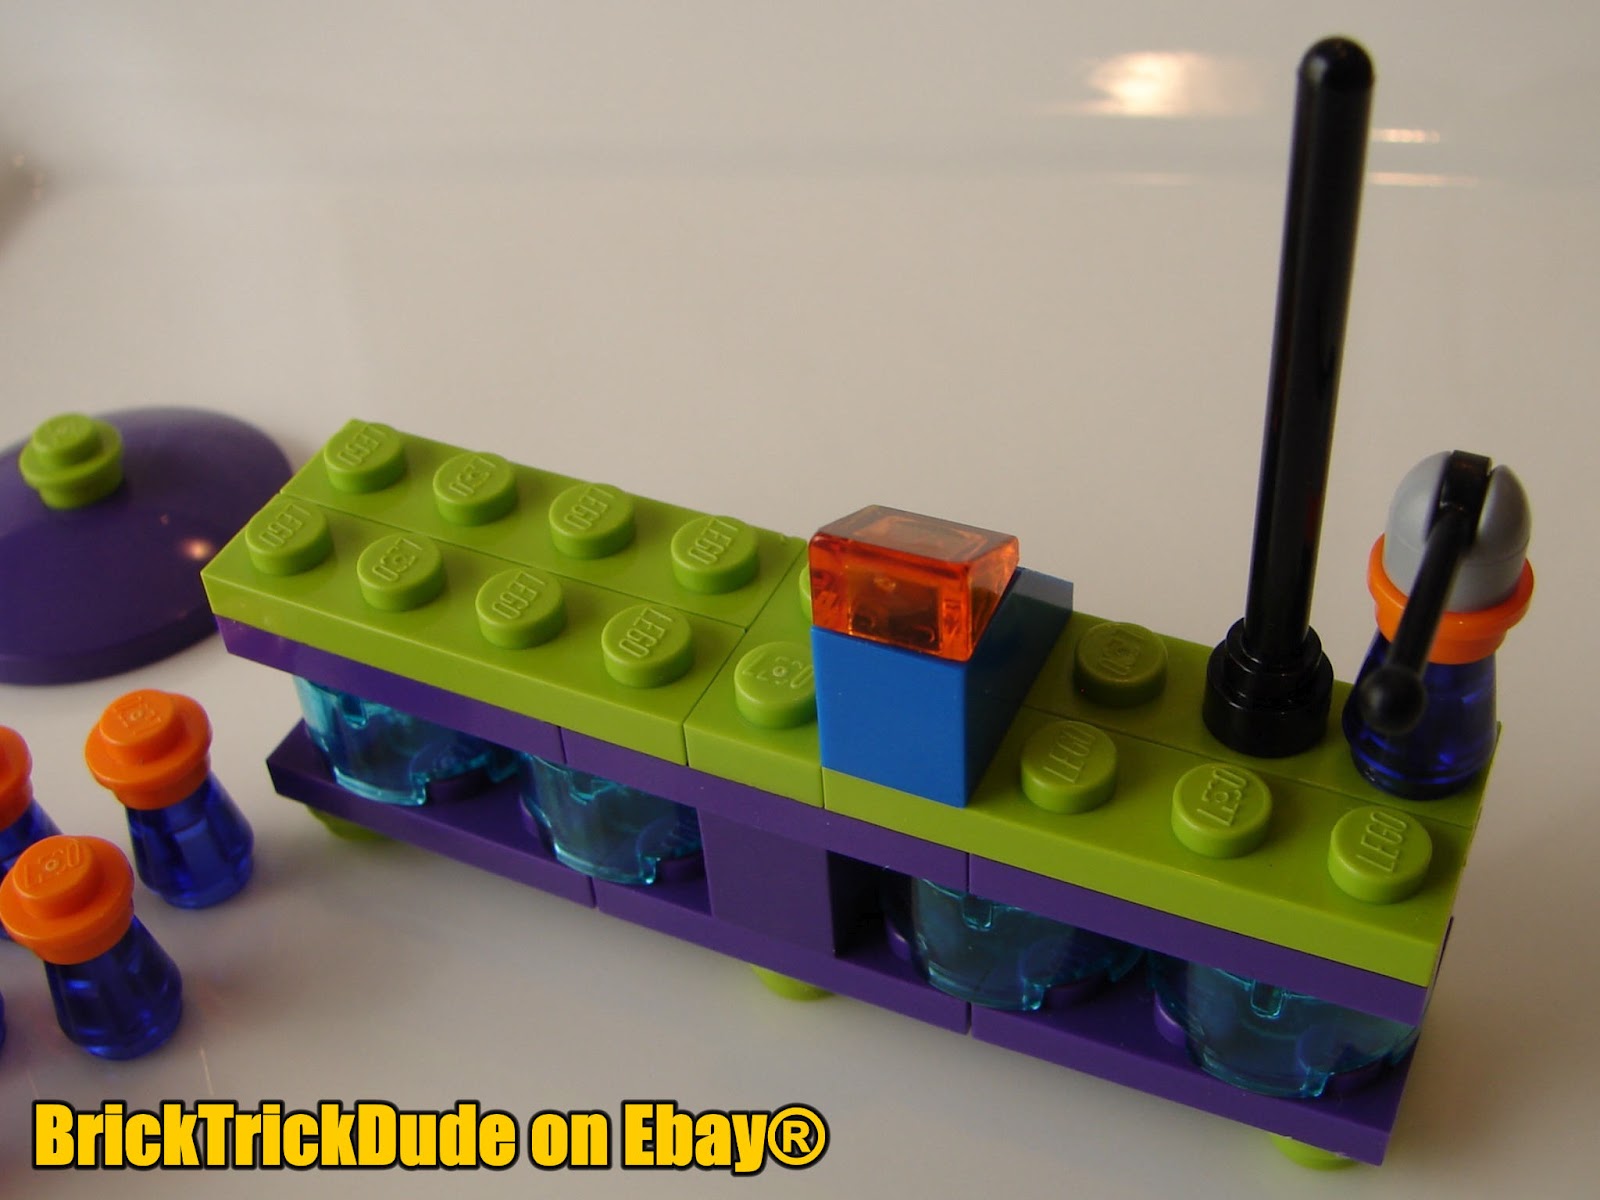
Above: The PURPLE JUICE BAR custom building kit shown assembled with female minifigure "TAMMY".

PURPLE JUICE BAR CUSTOM KIT • BUILDING INSTRUCTIONS

This posting contains images and instructions identical to the printed directions which come with this custom building kit available from BRICK TRICK DUDE on Ebay®.

REMINDER: Enlarge the images by clicking on them.

Check out the BRICK TRICK DUDE store on Ebay®, go here: http://stores.ebay.com/bricktrickdude


Above: The PURPLE JUICE BAR shown with male minifigure "TIMMY".

Above: Part included in the PURPLE JUICE BAR custom kit.

PARTS LIST
1 orange trans. 1x1x2/3 slope
1 blue 1x2 45-degree slope
1 dark purple 1x2 brick w/hole
1 black/gray gearshift
7 lime 1x1 caps
1 black antennae pole
1 dark purple 4x4 parabola
4 aqua trans 2x2 round bricks
1 lime 1x2 plate
4 lime 1x4 plates
9 orange 1x1 caps
6 dark purple 2x3 plates
9 purple trans. 1x1 cones

Step 1: Place orange transparent slope on top of blue 1x2 slope to create cash register.  Put 1 lime 1x1 cap on to the dark purple parabola.  Place orange 1x1 caps on purple transparent 1x1 cones to build juice bottles.

Step 2: Lay out 3 dark purple plates and snap on the dark purple 1x2 brick as shown.

Step 3: Snap on 4 aqua blue transparent 2x2 round bricks.

Step 4: Add remaining 3 dark purple plates.

Step 5: Place 4 lime 1x4 plates as shown.

Step 6: Add lime 1x2 plate.

Step 7: Place 6 lime 1x1 caps on bottom of bar as shown.

Step 8: Place the black and gray gearshift on top of one juice bottle to create sampler pump.  Add pump, cash register and black pole to bar top.

Step 9: Snap dark purple parabola on to black pole to complete the umbrella.  Stack juice bottles on bar as shown or any way you like.