WELCOME TO THE BRICK TRICK ONLINE STUDIO

Here you can view our designs, projects and building instructions.

Thursday, November 20, 2014

DOUBLE DECKER HOLIDAY TRAIN LAYOUT

Above: The Brick Trick Double Decker Train layout.

DOUBLE DECKER HOLIDAY TRAIN LAYOUT

If you've been following the Brick Trick BLOG, then you may have seen us build train layouts in our fireplace before.  While that may sound mighty strange, it makes great use of a space we otherwise never use.  And we had to get creative when it came to fitting a train in our small living room.

Check out the first fireplace train layout we built a couple of years ago here:
http://bricktrick.blogspot.com/2011/11/holiday-train-and-town-layout.html

The Double Decker Train layout includes two tracks on different levels, each track with it's own unique train cars.  The lower track also has a train station.  The main focal point is the HILLTOP PLACE department store, which has several floors for holiday shopping! Notice the rooftop restaurant on top of the department store with lots of guests dining al fresco.

REMINDER: Enlarge the images by clicking on them.

Above: Another vantage point of the Double Decker Holiday Train layout.

Above: Guests dine and drink on the rooftop at the outdoor restaurant.

Above: The lower train stops in the bright yellow station.  The upper train carries passengers to holiday shopping and dining.

Above: The roof of the department store lifts off.

Above: Inside the department store several floors of merchandise await holiday shoppers.

Above: The front of the HILLTOP PLACE structure has been removed so the interior is more visible.

Above: Another view of the entire project.


Saturday, November 8, 2014

RAINBOW "SKINNY BRICK TOWN" BUILDINGS

Above: "Skinny Brick Town" buildings arranged in a colorful rainbow.

RAINBOW "SKINNY BRICK TOWN" BUILDINGS

This post features buildings from the Skinny Brick Town project featured on the Brick Trick BLOG in October.  For this presentation, Brick Trick Artist Philip Buchan has arranged the structures by color to form a rainbow.

The twelve different colors included are, (from left to right), red, orange, yellow, lime, mint, green, teal, blue, purple, violet, magenta and pink.

REMINDER: Enlarge the images by clicking on them.

Above: Six buildings on the left side of the rainbow streetscape.

Above: The other end of the rainbow block.

Above: Details include colored transparent bricks to form "stained glass" windows in the green building.

Above: Some of the pieces, such as the violet bricks, are vintage colors that are no longer in production.


Thursday, October 30, 2014

Brick Flower Arrangement

Above: A "Brick Flower Arrangement".

BRICK FLOWER ARRANGEMENT

Brick Trick artist Trick Richey set out to create a "more organic" form, as he put it, "different from the architectural buildings I often create".

The result is the brick floral sculpture in this posting, which is made up of seven different brick flowers all arranged in a clear cylindrical brick vase.

Above: Close-up of the largest flower in the bunch, which is constructed from a dish, 1x1 plates with clips and white 1x6 bow bricks.

Above: Close-up shows two of the smaller flowers made from plates and transparent cones.

Above: A variety of parts were used to create the blooms, and green 1x1 bricks make up the stems.

Above: A yellow-centered "daisy" is made from a bright light orange dish, 1x1 plates with clips and white 1x3 bow bricks.

Sunday, October 5, 2014

"SKINNY BRICK TOWN" Series of Buildings

Above: Brick Trick artist Philip Buchan created a town of buildings, most constructed with only an eight peg width.  Some of the buildings are only 6 pegs wide.  Can you spot the one 7 peg and one 9 peg wide buildings?

"SKINNY BRICK TOWN" Series of Buildings

Brick Trick artist Philip Buchan created an entire town of buildings, all constructed on very narrow "lots".

The scale of this series is suitable for minifigures, (and you'll see plenty of them hanging out on various balconies and many other places).

REMINDER: Enlarge the images by clicking on them.

Below: The back view of the street, with plenty of action happening in the tiny yard spaces and along the sidewalk.

Above: A closer view of some of the buildings.  No two structures are exactly the same color scheme and all have unique architectural details.  Notice the small alley created between the blue and the gray buildings, which are only six pegs wide each.

Above: The other end of the SKINNY BRICK TOWN block.

Above: The "teal" and the "caramel" buildings are only six pegs wide each with a narrow alley running between them.

Below: The other "alley" as previously mentioned. 

Above: Neutral color buildings such dark tan sit next to bolder choices like orange, purple and blue.


Monday, September 8, 2014

Earrings Made From Minifigures

Above: Minifigure "Chef Girls" have been made into dangle earrings.

Earrings Made From Minifigures

We took several of our favorite minifigures and turned them into earrings.  We simply glued the minifigure wig or hat in place on the minifigure head, and then we drilled a small hole centered at the top.  Threaded metal eye-hooks were screwed into the holes and then proper ear wires were attached to complete the earrings.

Earrings make a great gift.  Find many designs in the Brick Trick Dude Ebay store, CLICK HERE.

Above: A cowgirl and cowboy set of earrings.

Above: The "Movie Star" earrings.

Tuesday, May 20, 2014

PINK & AQUA AIRPLANE CUSTOM KIT - BUILDING INSTRUCTIONS

Above: The PINK & AQUA Airplane kit shown assembled with female minifigure Amelia.

PINK & AQUA AIRPLANE CUSTOM KIT - BUILDING INSTRUCTIONS

This posting contains images and directions identical to the printed directions that are included when you purchase this custom building kit from BRICK TRICK DUDE on Ebay.


Above: Parts included in the custom building kit.

PARTS LIST
1 white 1x2 tile w/tailfin
1 black/white steering wheel
1 clear transparent 2x2
   45-degree slope
1 black propeller
1 white 1x2 brick w/stud
2 aqua 2x8 plates
2 medium lavender 1x4 plates
2 bright pink 2x2 bricks
2 white 1x2 grills
9 bright pink 1x2 smooth tiles
2 white rims
2 black rubber tires
1 light gray 2x2 axle plate

Minifigure Pilot “Amelia” is assembled and includes:
1 brown ponytail wig
1 female head with pink lipstick
1 rainbow stars pattern torso
1 orange hips/legs

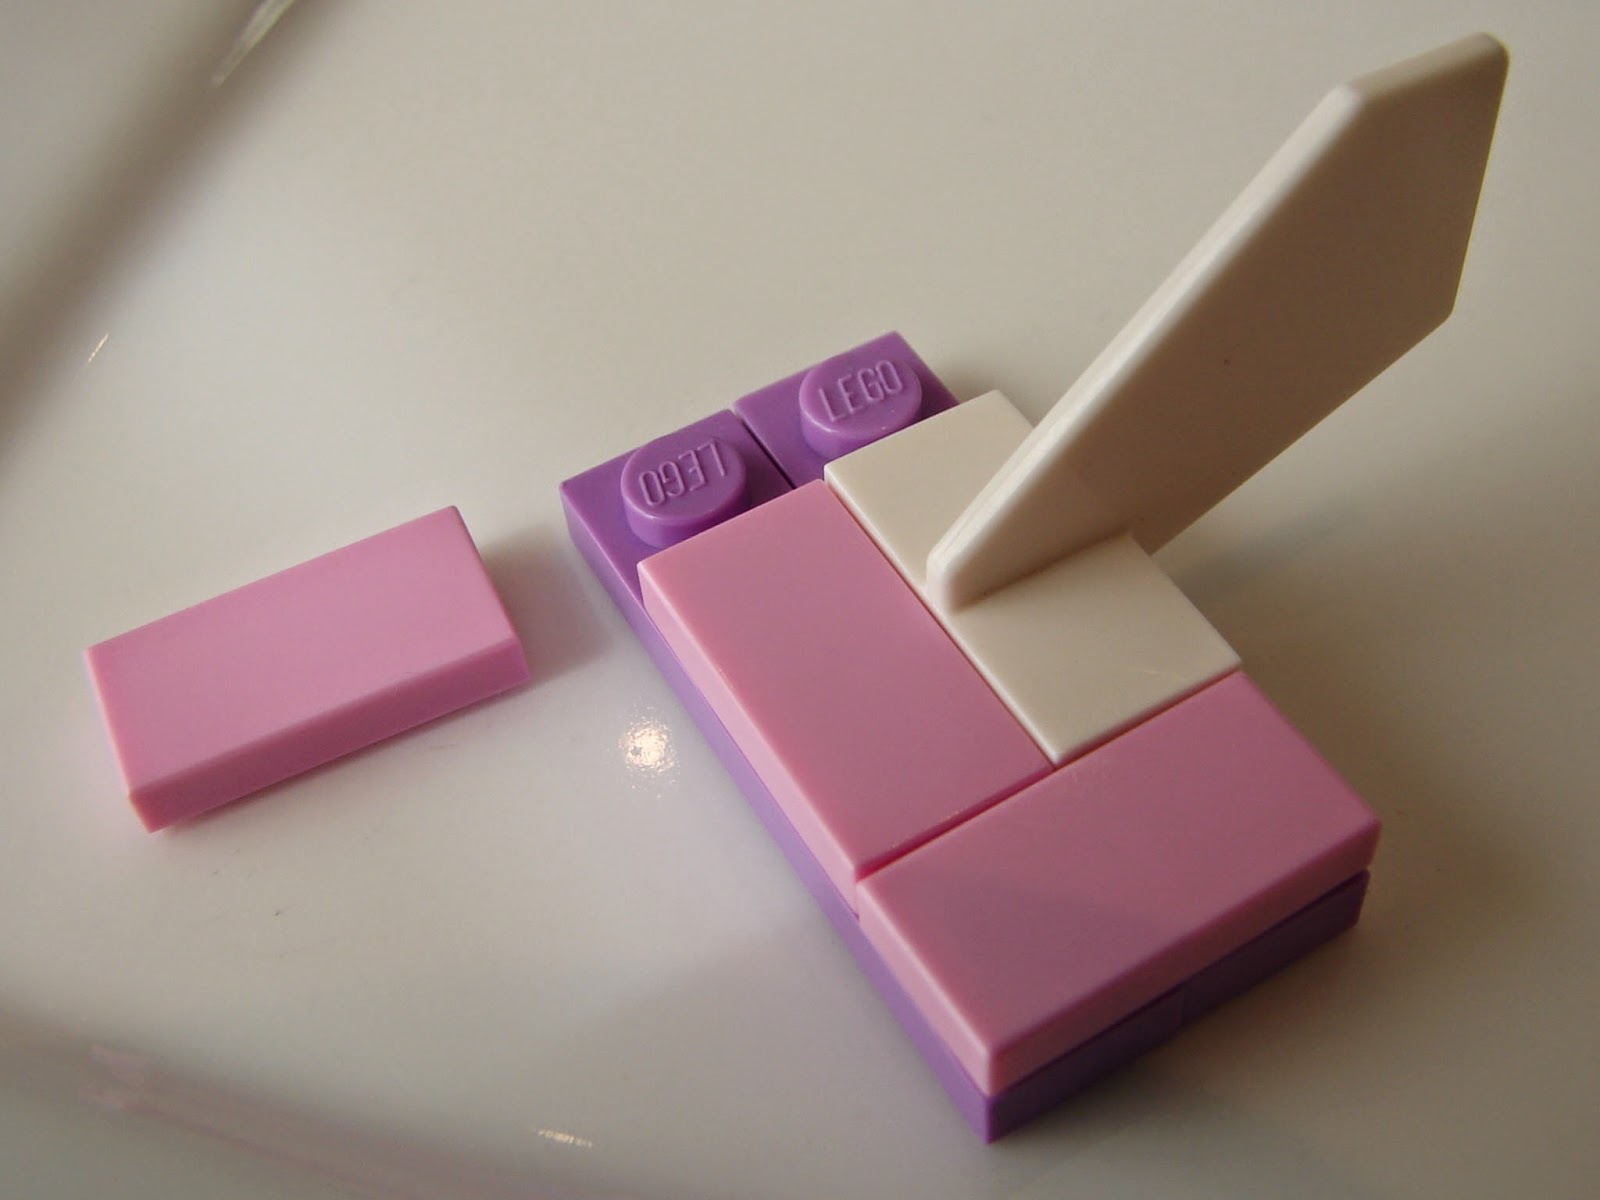
Step 1: Attach propeller to white 1x2 brick with stud.  Add 1 pink 1x2 tile to clear 2x2 slope.  Put tires on axle plate.  Place white tailfin on lavender 1x4 plate and 1 pink 1x2 tile on second lavender 1x4 plate.

Step 2: Add pink 2x2 bricks to one aqua 2x8 plate.

Step 3: Attach the propeller assembly to front of aqua 2x8 plate.  Place 1 pink 1x2 tile on top of white propeller brick.  Add steering wheel.

Step 4: Complete the tailfin assembly by joining the lavender 1x4 plates with 2 pink 1x2 tiles.

Step 5: Add tail assembly to pink 2x2 brick as shown.

Step 6: Add windsheild to second aqua 2x8 plate.

Step 7: Add pink 1x2 tiles and white 1x2 grills to aqua plate to complete wing assembly.

Step 8: Add wing assembly to pink 2x2 brick.

Step 9: Add wheel assembly to underside of aqua plate.

Notes: Now you’re ready to fly.

©2014 Brick Trick Dude.  ALL RIGHTS RESERVED.
Images and directions are the copyrighted property of Brick Trick Dude and may not be re-produced from this blog posting without express written permission from the Brick Trick blog operators.